It’s pretty obvious to most folks that in order to do a job right, you have to have the right tools. Gardening is certainly no exception. After years of homesteading and gardening, I’ve amassed quite a collection. Let me share with you my winners.
Prepare
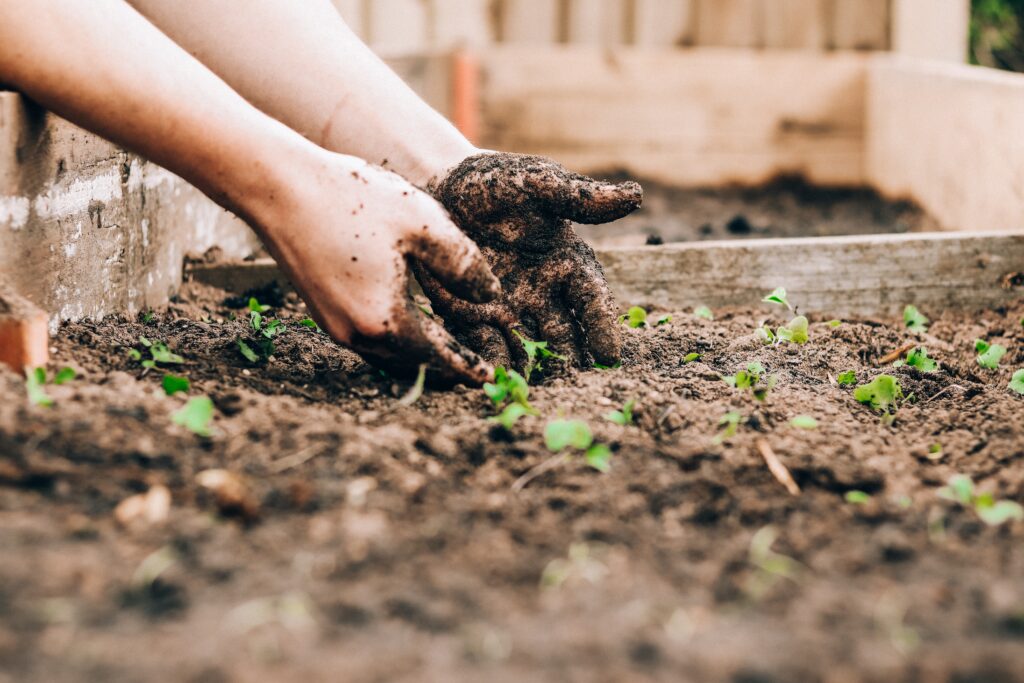
Before we begin growing a vegetable garden, we must first prepare our soil to nourish the plants and/or we must prepare the plants themselves to be planted. If you are planning to garden entirely from scratch rather than purchasing plant starts from the nursery, you will want to give them the best start possible.
Starting your own seedlings from scratch is a bit of a learning curve, but it is so rewarding once you get the knack. I have a detailed post on seed starting here that you can review if you are new to seed starting this season. Maybe you need a refresher course and would benefit from reading it as well.
Seed Starting Tools
Seed Starting Trays
Let me begin by making it clear that seed starting trays are convenient but not necessary when you are starting out. There are so many responsible ways of starting seeds that include such second-use items as used yogurt/pudding cups, red Solo cups, meat or plastic packaging as well as reclaiming 6 cell plant start trays from the big box store.
Any of those are excellent options for starting out and most of those will give you two to possibly three seasons of use if you are careful with them. After that, and especially if you are starting a few hundred seeds or more, I would recommend these trays. They are fun, sturdy and purty, if you don’t mind me saying so. The silicone rubber with drainage holes really makes removing the seedlings a breeze. I can use a separate tray for each type of herb/vegetable that I am starting and when combined with this 10×20 hole-less tray, watering and transport are a breeze when it comes time for that.
Seed Starting Mix
You have a decision to make here. Either you will need to make your own or purchase a pre-mixed seed starting medium. This is not dirt from your backyard, nor is it heavy compost or potting soil. A good seed starting medium needs to be light and fluffy with excellent drainage and little or no large pieces of organic matter.
There are many excellent choices at the nurseries and online for your review. Many times the brands and options available in one region vary widely. When you get to the garden center sometimes it is best to ask an experienced gardener which brand they prefer.
For the last several years I have been mixing my own based on what I have on-hand, what I find in stores, and what time of year I am starting seeds. My usual recipe, if you could call it that is 1:1:1 equal parts coconut coir (or peat moss), vermiculite, and compost or potting soil. Again, your end goal is a fine, fluffy medium that has good drainage.
One last note on seed starting. When I am not sure of the source or sterile nature of the potting soil I am mixing in, I go ahead and top each of the seedling cells with a layer of sand or vermiculite. This has served to cut down dramatically on the instances of fungus gnats and damping off as well.
Heat Mat
Not all of your seed starts will require heat to germinate. For example, lettuces do not but peppers love it! If you are hoping to get a head start on peppers this year in your climate, you may find a heat mat helpful in your endeavors. Be sure to select one with the dimensions that will be most helpful to you based on how many heated trays you need. A separate thermostat unit really is helpful once you get closer to spring and there are more and more really warm days. You do not want to cook your seedling babies!
Grow Lights.
Grow lights will be required if you are attempting to start seeds and must use an area with insufficient light. Many times a large, sunny window is all you need if you are not starting too many seeds at once.
There are so many creative gardeners with clever seed-starting setups that feature multi-level shelves and suspended lighting. The number you will need to give your attention to is the kelvin rating. Be sure to select 5000 or above for the best performance of your seed starts as this mimics the daylight spectrum for your plants.
The other number you will need to pay attention to is the lumens. Look for 2000 lumens or higher on the florescent tubes or LED shop lights you are considering. If you are planning to move your plants outdoors you will not need to bother with colored lighting. Once the seeds germinate it is best to have lights on for 16 hours and off for 8 hours each day.
Soil/Bed Preparation Tools
Do you get excited when it is finally time to prepare your beds for planting? Sometimes it seems this day will never come. Once it does you will want to have all of your needed items in one place so that you can spend as much time as possible playing in the dirt.
Do you need or are you planning to use any agricultural fabric between the ground and your soil bed? If so, I highly recommend this one by agri-bond. This is not that thin, filmy stuff you get at the big box stores. In fact, when used and stored properly this will last multiple seasons.
To till or not to till? If you are planning to till but only do it once a year, finding a garden buddy or renting from the local tool rental center really is the most economical option. Otherwise, you might also look into purchasing a broad-fork tool which will serve you for a lifetime.
Grow
Now it’s finally time for the big show, the moment we’ve all been waiting for. Let’s grow something, shall we?
If you are transplanting starts with a long, fragile taproot, or even re-potting plants with a long upper stalk such as onions and garlic, you will want to own a dibber. This handy, pointed tool will push away the soil for you to just the right depth you specify to allow you to easily slip your transplant right in to place. There are metal handled versions available as well, but I have come to prefer wooden handles for their beauty and longevity.
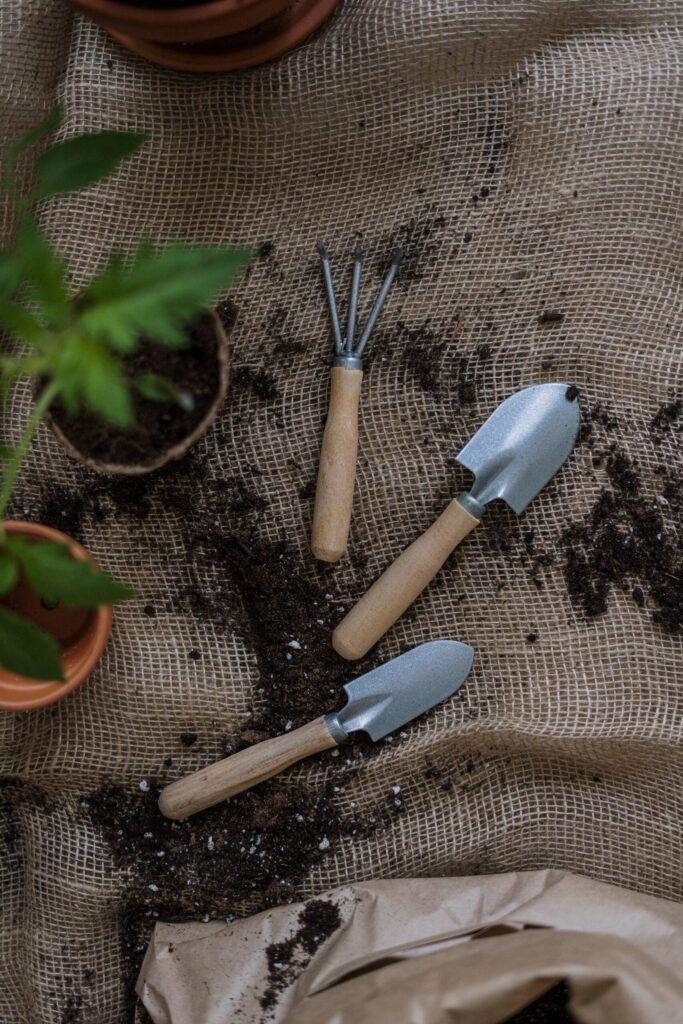
Trowel, Spade or Hand Shovel
While I am sure these are all different tools based on blade angle or some other such specification, most gardeners refer to them as one and the same tool. In the garden, I love this as a transplanting tool because of it’s extremely sharp edge which cuts through tree roots and soil like butter. I have never actually used the depth measurements that are on it, but I do faithfully sharpen the blade each season to keep it ready for the next.
Hand Cultivator
Some of us really like to get out there and get our hands in the dirt, while others of us prefer gloves and a tool. If you have ever been waiting at a red light somewhere and realized you still have dirt under your fingernails, you are my people. Sometimes no amount of water, scrubbing, or soap will get that rich dark soil out of your fingerprint grooves.
A hand cultivator is like a mini rake that fits in your hand. In fact, you can stop using your fingers to pull away the soil and use this clever tool instead. Once you get used to the hook’s unique design, you may never go back to using your fingers again!
One of my best uses for this is as a weeding tool throughout the growing season. I simply pull the cultivator through and around the base of the plants. Weeds are easily uprooted and left on the soil surface to break down into lovely organic matter. Now they are building soil instead of taking from it. Win!
Trellising & Support Equipment
Growing in the garden is fun. So fun for some of us that we quickly run out of room. If you have decided that you have no place to go but up, here are some helpful solutions. Non-conventional sprawling plants can be trellised. Try growing squash up through a tomato cage. You will be amazed.
I really feel like a garden GOAT when I see my cucumbers explode into production on this a-frame. When you are ready for bigger solutions try growing your beans and gourds on this. A garden can certainly be lovely as well as functional. All I can see is a “tunnel of love” every year when this trellis fills out.
Harvest
Pruning Shears/Snips
Have you ever been out for a stroll in your garden, passed a tomato and thought, Yum! Then you pulled that deliciously juicy bite of joy from the vine, only to take half of the vine with you, newly-formed fruits and all. Me too. Harvesting a pocketful of okra? No way, not without my snips. Don’t tell, but I may have even used this sensationally sharp tool to slice open a brick or two of coconut coir and free a bale of pine straw too. Just don’t tell the manufacturer please because I am sure that neither of those secondary uses are what were intended.
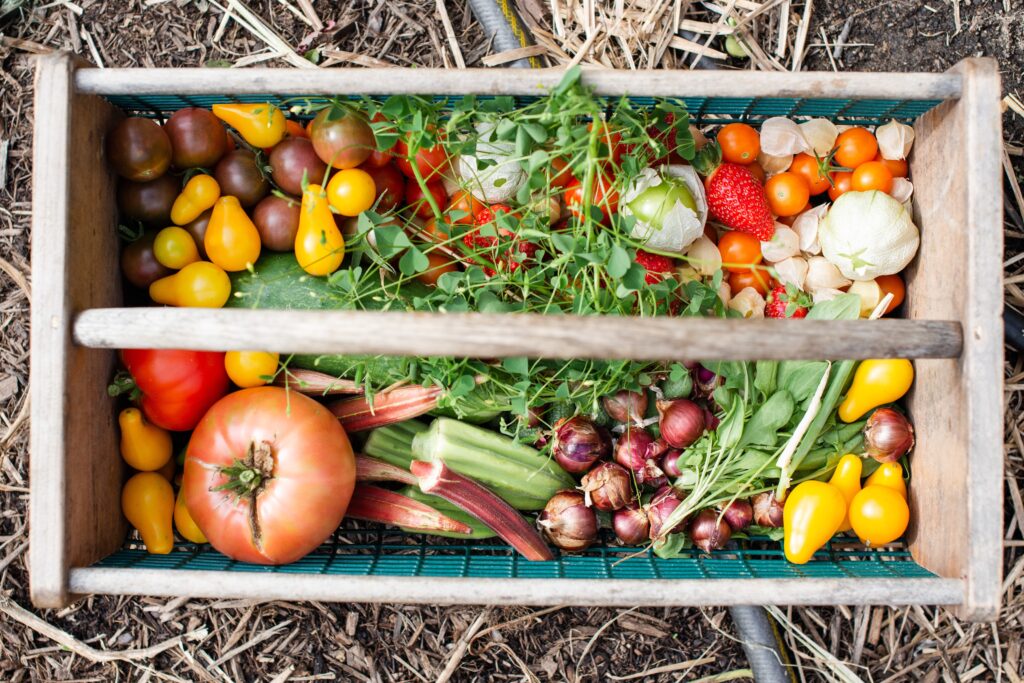
Baskets
Sometimes you are just passing by and you reach for a quick cucumber and a zucchini. Anything more than that and you are going to have your hands full! It is so nice when you are ready to harvest a mess of beans for supper or grab the last of the patty-pan squash when you have the right tool. Harvest baskets are not just cute and trendy. Unless you are just going to keep using 5-gallon buckets, I suggest you invest in a handy trug like this one. You can harvest and rinse all in one basket!
Drying Racks
Whether you are curing garlic and onions or just hardening off your potatoes before storage, a drying rack like this keeps your harvest safe and in one place while the drying takes place. There are many clever and creative options like open ceiling rafters and mesh screens held in place by 2×4’s, but if you don’t have time to construct your own rack, you will be so glad you have this when harvest time comes. There are eight layers to keep the air flow maximized.
Preserve

Canning Equipment
When you get to canning season I feel like you have made it to the home stretch. All your hard work outdoors has paid off in a bountiful harvest for you and your family. Now it’s time to preserve the fruits of your labor for enjoyment throughout the year. Don’t let your hard work go to waste with faulty lids and seals.
Canning equipment does age and does require some maintenance and inspection. If the rings and gaskets are no longer sealing on your pressure canner, replace them. When you are in need of jar lids and bands be sure those that you are considering are from a reputable brand and seller, not just a similar name.
If you think you are ready to try reusable lids, then I highly recommend these lids. They are wonderfully reliable, sturdy, and have a very low user error rate when the instructions are followed. Be sure to check out my video review of these lids.
This is the steam canner/juicer I have purchased and it has transformed my pickling days in the kitchen. The lower volume of water really does make a difference in the amount of time it takes to get your pickling done that day. Shorter processing times mean more time is left for other projects.
Dehydrating Equipment
I own a few of these round, stacking dehydrators and I use them for delicate herbs and home crafting projects. When I want to proof bread, dehydrate several layers of fruit, or make jerky, I could not imagine life without my Excalibur. I love the ease of “set it and forget it” appliances and this is one of the BEST purchases I ever made.
Other
Let me assure you this post is meant to be thorough and helpful, but not all-inclusive. You see, what you need for your homestead and garden may differ from what I use based on preference and location. For example, I have not even touched the topic of frost/row cover for those who are in climates which require such inputs.
Keep in mind that you also do not need any of these items if you are simply starting out by growing a few herbs in containers. Like every lifestyle change or hobby, you can begin with what you have and grow from there, pun intended.
Please take a minute to let me know in the comments what some of your favorite tools are, especially if I have left it off. Our community grows more and more sustainable with each bit of knowledge gained. I am so glad to have you here!